How long does it take?
- Jane's Felt

- Mar 16
- 3 min read
Updated: Apr 28
I am often asked this question by every person who sees me needle felting my animal portraits, either at events or in the Wool Clip cooperative that I belong to (Wool Clip). And the answer? ‘I don’t know.’ The rest of this blog will explain why.
The Art of Needle Felting: A Journey Through Process
1. Washing
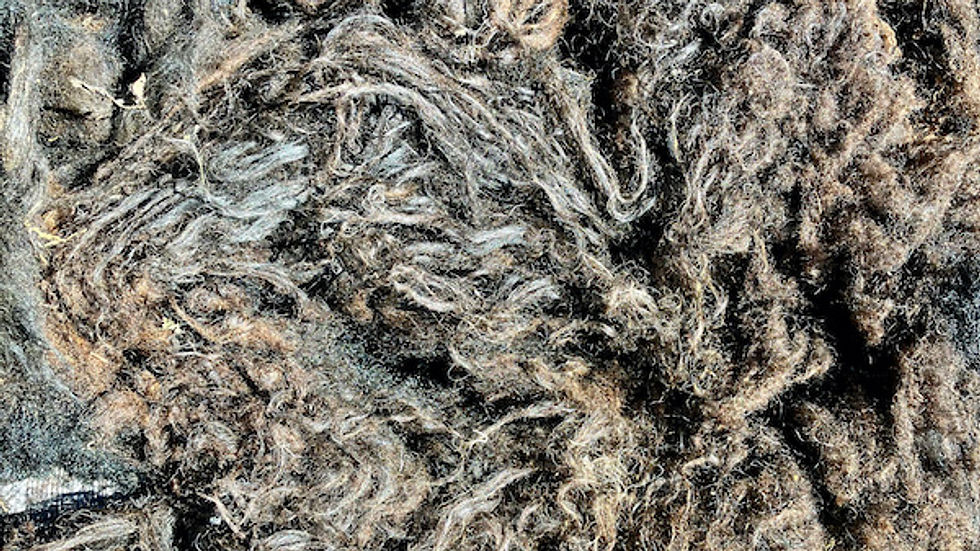
I am fortunate to have neighbours with many different breeds of sheep. Recently, I washed whole fleeces from Herdwick, Hebridean, Bluefaced Leicesters, Zwartbles, Valais Blacknose, Poll Dorset, Leicester Longwool, Greyface Dartmoor, and more. This process begins with laying out the fleece on a groundsheet in my garden. I carefully remove the dirtiest bits, known as skirting, which will later be used for mulching my garden.
The cleanest parts of the fleece are soaked in cold water in a clean dustbin next to my vegetable patch. This allows me to recycle the water. I change the water daily until no more mud comes out. Once the fleece is clean, I take it indoors and wash it in very hot water to remove the remaining dirt and lanolin. Summer is the best time for this, as I can dry the fleece on the line! It typically takes about a week to wash a fleece, but drying times vary depending on the weather.


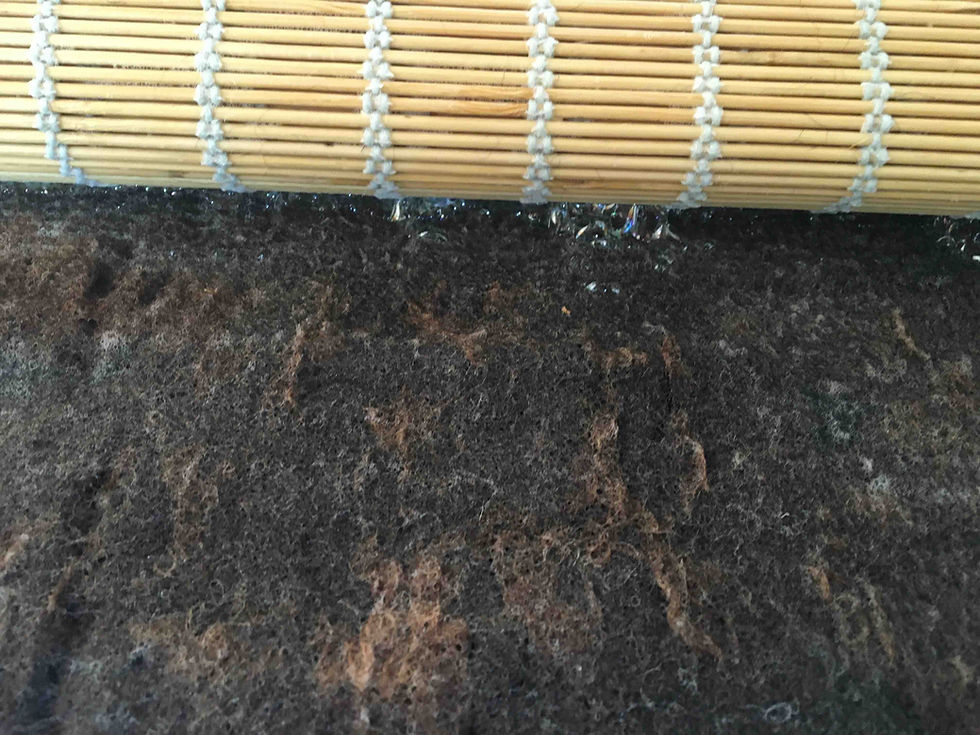
2. Wet Felting
The next step in creating one of my portraits is making felt. I use a giant bamboo mat laid out on my kitchen worktop. I create large pieces of felt in various colours from which I later cut out my basic shapes. Wet felting is a very physical process, requiring about 1500 rolls of my bamboo mat to make one piece of felt. The combination of warm water, soap, and friction causes the overlapping scales on the surface of the wool fibres to interlock, creating a robust, non-woven fabric.


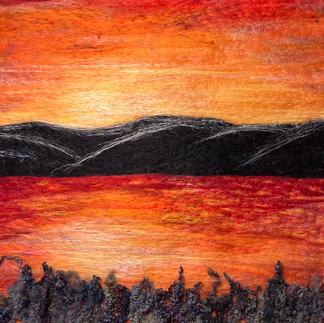
3. Dying
Though I am not proficient with my dye pots, I enjoy experimenting. I aim for my background colours to look natural, avoiding uniformity. By mixing colours as I go, I achieve this effect. I use a domestic steamer for the dyeing process. The clean wool is soaked in dilute vinegar water for 12-24 hours before dyeing, so this cannot be rushed.
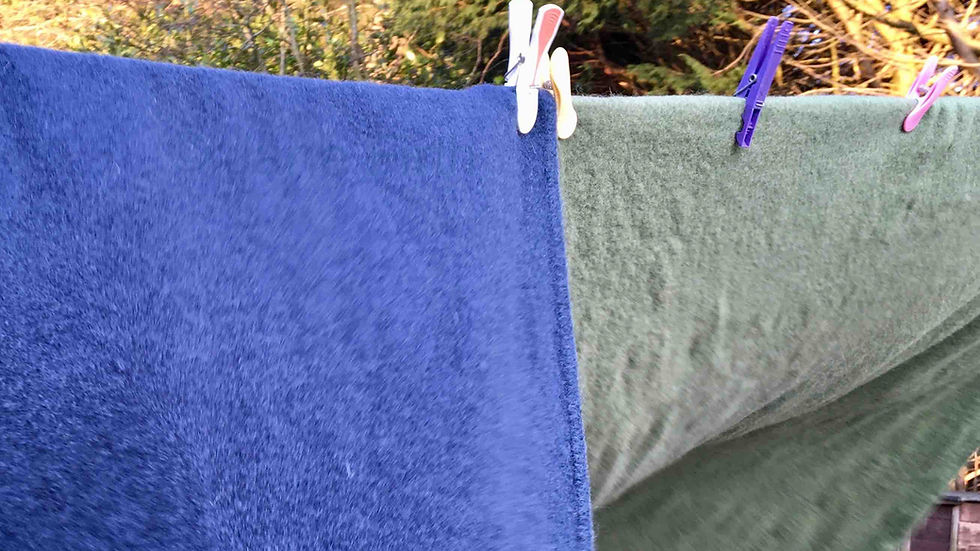
I also dye vintage blankets in the washing machine to use as felting bases. This, too, must be done on a good drying day.
4. Carding
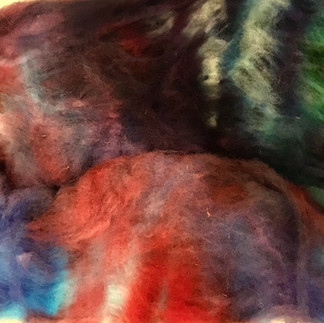
I have a drum carder that I sometimes use to card wool before dyeing. I also use it for blending different fibres.

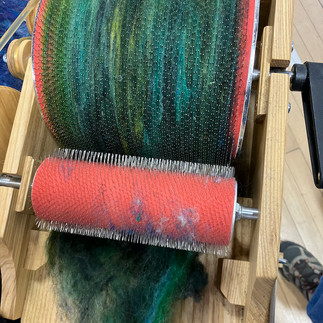

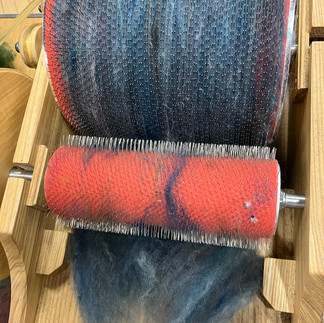


In these photos, I am blending my hand-dyed fleece with recycled sari silk.
5. Cut Out Basic Shapes and Begin Needle Felting
When I attend the Wool Clip or events, I bring portraits at this stage. This means that the people I talk to do not see all the processes that have gone before.

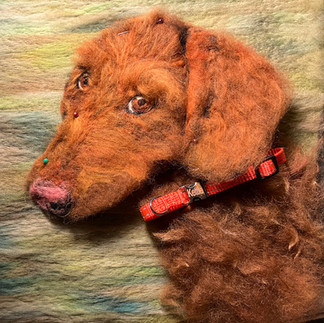
For example, with the Labradoodles, I cut out the faces, ears, and noses separately and started needle felting the details. I also began needle felting the background. These photographs were sent to the owners of the dogs to check that they liked the background colour and the progress of the faces.

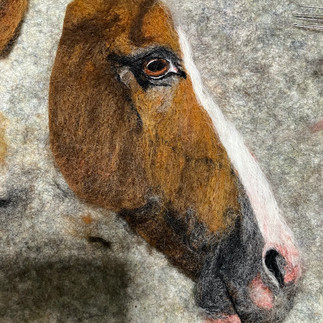
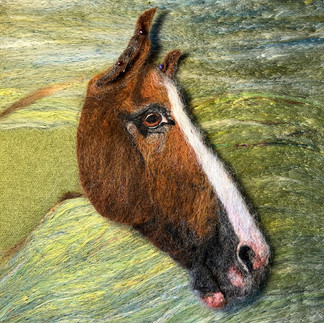
I also worked on a Selle Francais, a French eventing horse. This was a new challenge for me, as I had previously only felted much hairier native horses and ponies. I choose a background colour that complements the subject. Again, I sent work-in-progress photographs to the client for feedback on the background and the face.
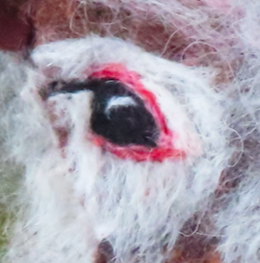
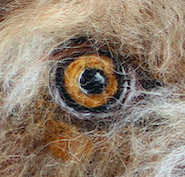
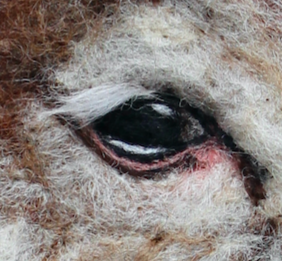
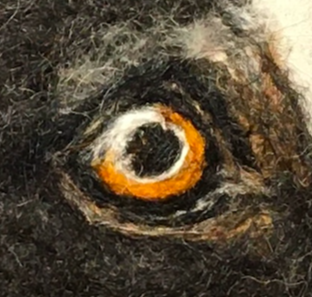
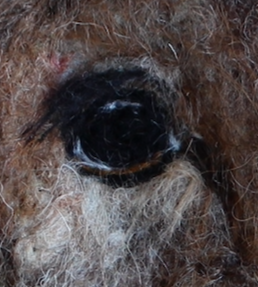
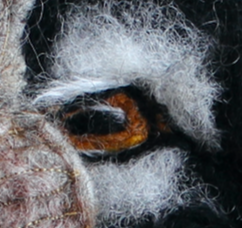
6. The Importance of Eyes
The eyes are what give my portraits their character. I study them closely, enlarging that section of the photograph I am using to ensure accuracy. Here are nine different sheep eyes.


7. Framing
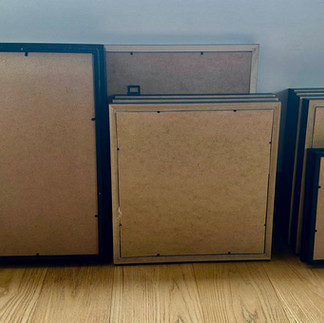
Once I have completed my picture, it spends several weeks in the freezer. This is to ensure that there is nothing still living in the wool, even after washing it in very hot water. After that, I frame the piece. I choose a colour of mount board that complements the background of the picture. If it is a commission, I take multiple photographs so the client can choose the colour and width of their mount board.
The finished piece is then framed, taped, strung, and labelled.


Now you see why my answer is always “I don’t know.” From washing fleeces and making felt to needle felting tiny details, no two pieces take the same length of time. Each portrait is a labour of love, shaped by many careful, time-consuming steps.


This journey through the art of needle felting is not just about creating portraits; it’s about connecting with the beauty of nature and the unique stories behind each piece. I hope this gives you a deeper understanding of the intricate processes involved in my work.


Comments